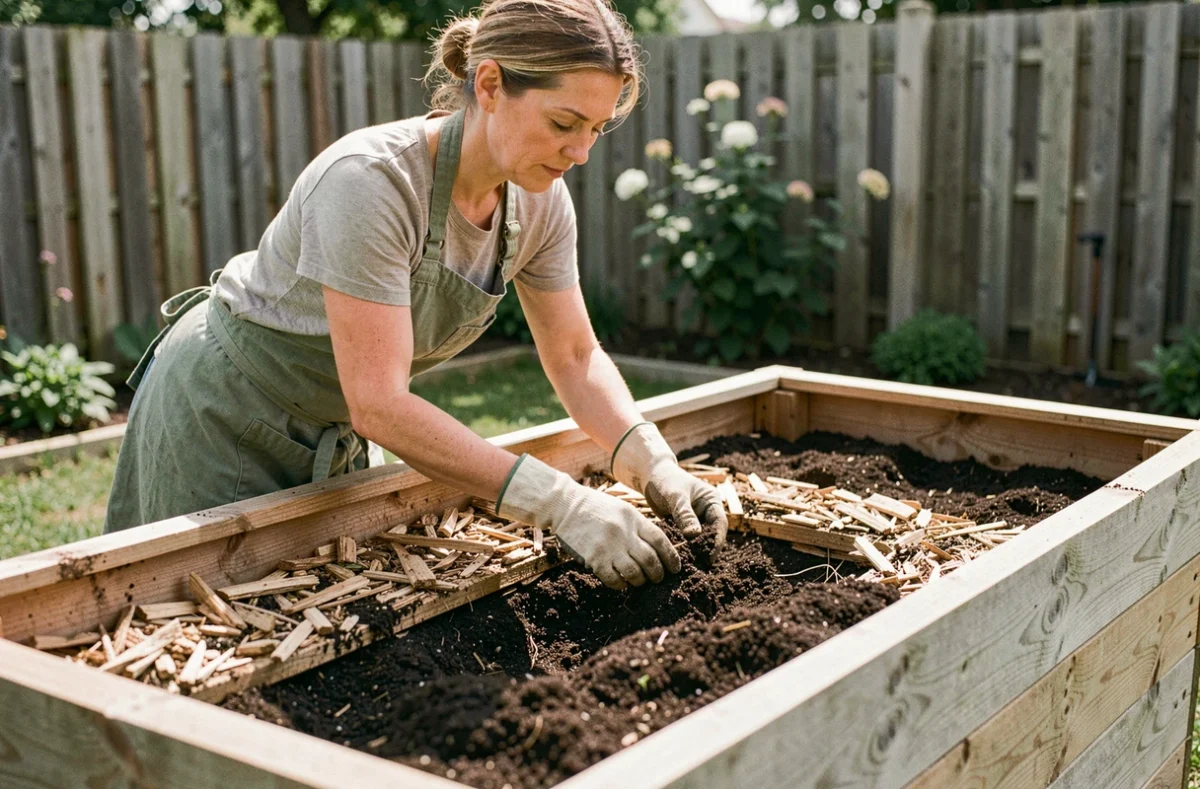
A raised bed placed on a terrace slab does not fill up like a bottomless bed installed in the ground. The nature of the support underneath changes everything: drainage, biological activity, and the rate of substrate settling. Before layering, one must first look at what is beneath the vegetable bed.
Open bottom or closed bottom: filling starts from the bottom of the bed
On natural soil (lawn, bare earth), a bottomless bed benefits directly from the drainage of the ground and the rise of earthworms. Rodent-proof mesh is sufficient as a base. One can place the first branches directly on the ground.
On a terrace, balcony, or concrete slab, the situation is different. The bed must have drainage holes and be slightly elevated (shims, legs) so that water does not stagnate under the roots. Without this detail, the bottom layer remains waterlogged, and the roots rot within a few weeks.
There are tips on the La P’tite Graine website that detail the specifics of each configuration. The key point to remember: adapt the base of the filling to the type of bottom before thinking about the upper layers.
Filling layers of a raised vegetable bed: from coarse to fine
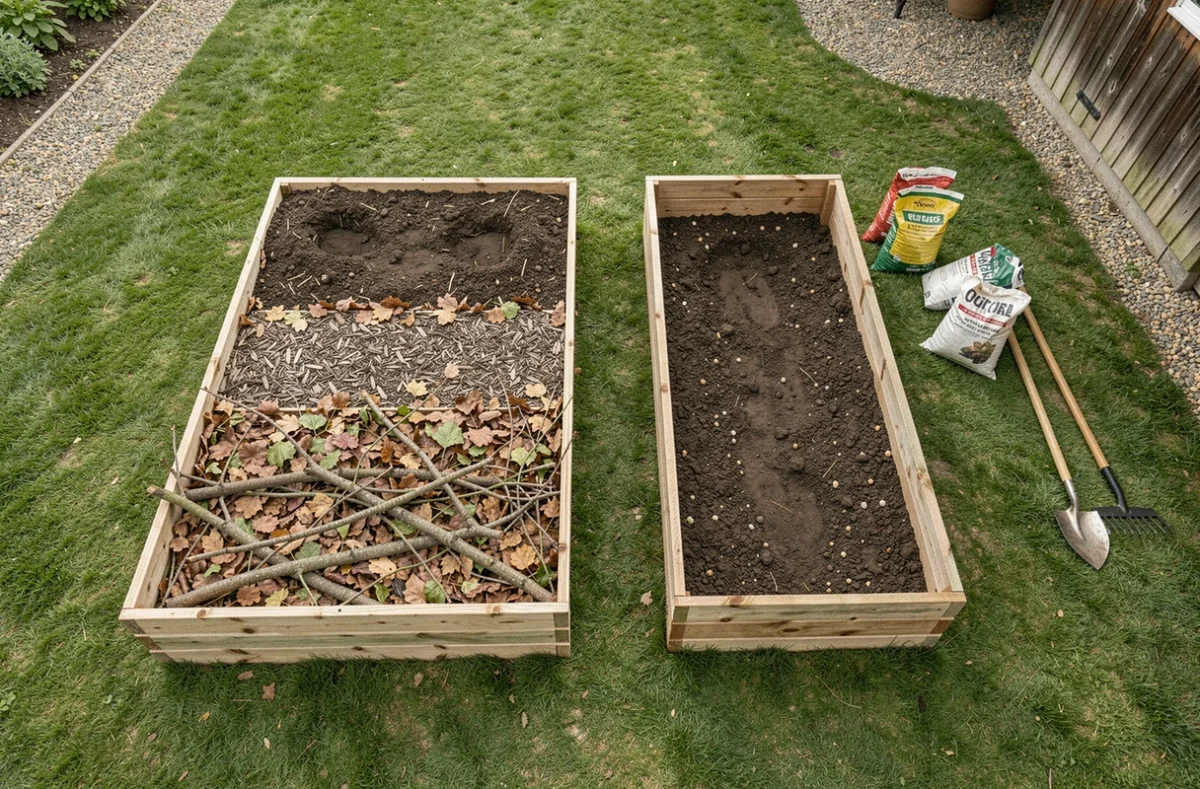
The principle is simple: start with coarse materials at the bottom for drainage, and gradually move up to a fine and fertile substrate at the surface. Three distinct zones are sufficient.

Lower zone: drainage and slow decomposition
Place branches, untreated logs, and pieces of dead wood. This layer creates air pockets, allows excess water to drain away, and decomposes slowly, releasing nutrients over several seasons. The wood used must never be painted, varnished, or treated: chemical residues would migrate into the substrate and then into the vegetables.
Intermediate zone: organic matter in active decomposition
Above the wood, alternate carbonaceous materials (dead leaves, straw, unprinted brown cardboard) and nitrogenous materials (grass clippings, kitchen green waste, young compost). This alternation mimics the natural functioning of forest soil and nourishes microbial life.
Be careful about the source of the clippings: clippings from chemically treated lawns contaminate the substrate. Check the history of the material before incorporating it, just as one sorts pruning waste to remove branches from diseased plants.
Upper zone: the growing substrate
The last few centimeters receive a mixture of topsoil and mature compost. It is in this layer that the roots begin their growth. Aim for a loose mixture that retains moisture without sticking.
- The compost must be well decomposed (homogeneous appearance, forest smell). Fresh compost continues to heat up and can burn young roots.
- Adding a bit of garden soil (if it is healthy) brings in microorganisms absent from compost alone and improves structure.
- Mulching the surface after planting reduces evaporation and protects soil life. Straw, shredded dead leaves, or untreated wood chips are suitable.
Settling of the substrate after filling: anticipate the drop in level
Even if each layer is lightly compacted, the level of the substrate noticeably drops after the first waterings and decomposition. This phenomenon is normal and affects all beds, regardless of the method used.
The solution is to fill the bed slightly above the top edge. After a few weeks, the level stabilizes. Then top up with mature compost or topsoil if necessary. Repeat this operation at the beginning of each season to compensate for the continuous decomposition of the lower layers.
Common mistakes when filling a vegetable bed
Some mistakes occur regularly and compromise the first growing season.
Too much carbonaceous material without nitrogen compensation leads to nitrogen hunger. The microorganisms that decompose the wood and straw draw the available nitrogen from the substrate, depriving the plants of this element. Compensate by adding mature compost, fresh green waste, or nitrogen-rich organic fertilizer between the carbon layers.
Using reclaimed materials without verification is another common mistake. Pallets of unknown origin, construction boards, and old railway ties may contain harmful treatment products. For food crops, limit yourself to naturally durable and untreated woods (chestnut, douglas fir, black locust).
Neglecting drainage in a closed bottom remains the most frequent trap on a balcony or terrace. Opinions vary on this point, but a bed without proper drainage almost always ends up causing excess water that is fatal to the roots.
Filling a vegetable bed in autumn: save time in spring
Autumn offers two concrete advantages for filling. First, organic materials are abundant: dead leaves, pruning residues, last mowings. One can fill the bed without buying anything or almost.
Secondly, the layers have all winter to begin their decomposition. In spring, the substrate is already partially structured, biological life is established, and several weeks are gained on the planting calendar. A bed filled in March with fresh materials does not reach the same level of maturity by the time of the first sowing.
- Filling the bed in November or December allows three to four months of passive decomposition before spring.
- Covering the bed with a permeable tarp or thick mulch protects the substrate from leaching by winter rains.
- At restart, a simple top dressing of compost on the surface is enough to revive the fertility of the upper layer.
Filling a raised vegetable bed is not a one-time operation. Each season, decomposition alters the structure and volume of the substrate. Topping up, mulching, and observing the state of the soil over the months are part of the normal functioning of a productive bed.